sábado, 24 de octubre de 2015

Tarjeta de Navidad - Christmas Card

Hola chicas y chicos:
Hello girls and guys:


Lo siento, la semana pasada no pude poner nada en el blog, esta preparando un regalo para una amiga y con los exámenes del Japonés ya no me dio tiempo.

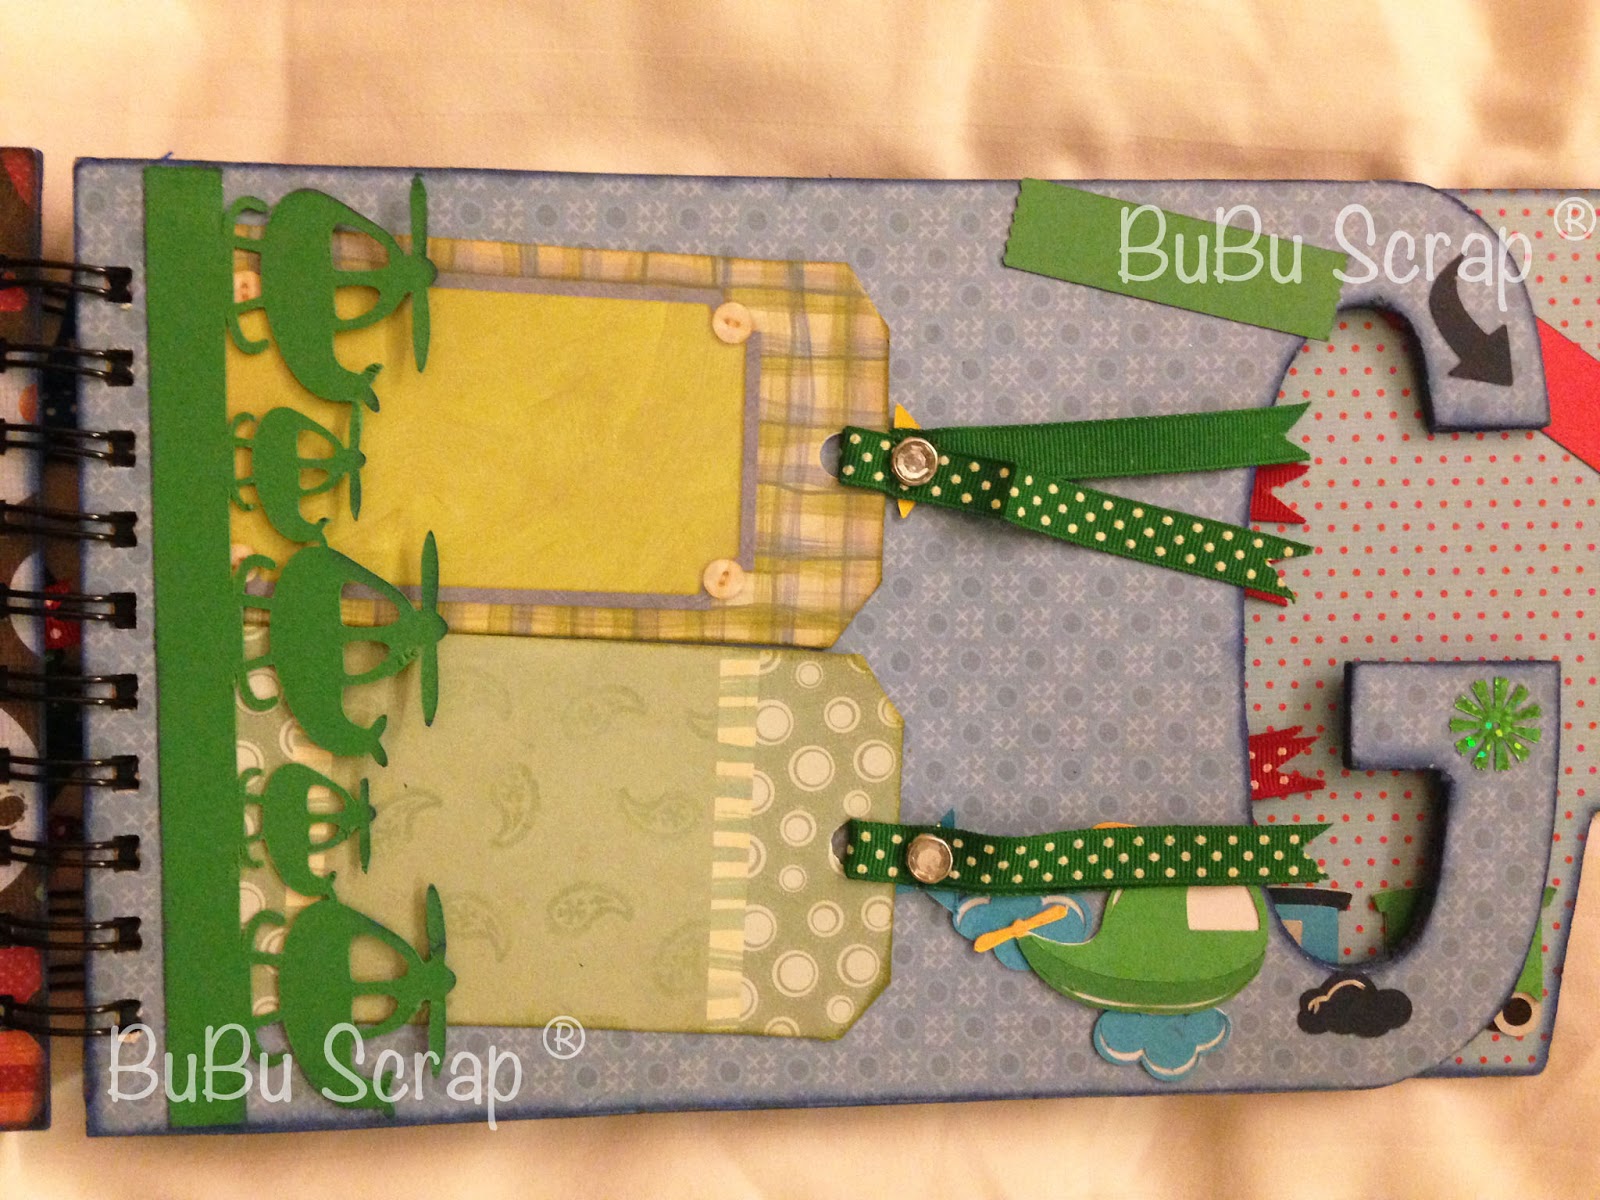
Pero como compensación les dejo por aquí una pequeño vistazo de lo que estuve preparando. Si les interesa mucho ver que es .... jejeje ....ヽ(^o^)丿... puedo mostrarles esto la próxima semana ......me quedo lindo ...... bueno la verdad todos décimos lo mismo jejejeje .... que trabajo nuestro no es lindo ..... (^▽^)
Sorry, last week I couldn't put anything on the blog, I was preparing a gift for a friend and with the Japanese exams I didn't have time. But in compensation I leave here a little bit glimpse of what I was preparing.
If you really really want it to see it .... lol .... ヽ (^ o ^) 丿 ... I can show you that next week…. It came out really cute ...... ...... well the truth we all say the same thing .... what project we have made is not cute ..... (^ ▽ ^)


Ahora si, lo que les tenia preparado para esta semana, una tarjeta de Navidad que hice el año pasado para uno de mis ex jefes, la tarjeta viajo hasta japón se imaginan ...... por suerte llego bien y no se le despego nada ..... jajajaja...
Now what I had prepared for this week, a Christmas card I did last year for one of my former bosses, can you imagine the card travel all the way to Japan ...... luckily it arrive well and nothing was detached..... lol ...

Esto lo prepare como un mini tutorial paso por paso para que lo pudieran ver bien, todavía no me había animado a filmar nada.
I prepared this like a mini tutorial step by step so that you could see well, I haven't the courage to film anything yet.

El inicio es bastante simple una base blanca de cartulina de 200 g.
The beginning is fairly simple a white cardboard base of 200 g.


Para adornarla use mi linda cameo, me he vuelto fan últimamente (^_^), y un corte gratuito de Monica's Creative Room que pueden encontrar aquí en rojo y blanco para darle el aire navideño.
To decorate I used my cute cameo, lately I've become a fan (^ _ ^), and a free cut of Monica's Creative Room that can be found here, I used red and white cardstock to give a Christmas air.


Luego corte dos óvalos rojo y blando y al blanco lo repuje con la Big Shot con un motivo navideño y lo puse al centro de la tarjeta.
Then I cut two ovals, red and white and I emboss the white with the Big Shot with a christmas emboss folder and put it in the center of the card.


Luego use una hoja de decoupage con unos ositos navideños de  Forever Friends que compre en Printy Store. Le pase un boleador para abultarlos un poquito y darle un efecto 3D  y los pegue con cinta de montaje gruesa. 
Then use a Teddy Bear Christmas decoupage page from Forever Friends with I bought it at Printy Store. I used a stylus to give them some dimension and stick with thick mounting tape.


Ya como último detalle le agregue unos ring stones para darle un poco de brillo a la tarjeta.
To embellish I used ringtones to give some sparkle to the card.


Espero que les haya gustado.
I hope you like it

Un abrazo
A big hug

Nos vemos la próxima semana.
I see you next week

viernes, 9 de octubre de 2015

Minialbum Palabra - Word Minialbum

Buenas noches a todos.
Good evening everyone .


Hoy les quiero mostrar un álbum que hice para el hijo de uno de mis ex-jefes, el es Japones y el año pasado tuve la oportunidad de ir para allá y quise llevarle un regalo especial y que mejor que un regalo hecho por uno mismo verdad ... (^o^)
Today I want to show you an album I did for the son of one of my former bosses, he is Japanese and last year I had the opportunity to go there and I wanted to give him a special gift and what better than a gift made by oneself indeed ...(^o^)

El nombre de su hijo es Yuga y me decidí por hacerle un Miniálbum palabra usando su nombre, encontré un tutorial para hacer albumes de palabras con la Silohuette en "Finding Time To Create", seguí las instrucciones para hacer la palabra, pero como queria un albúm que fuera un poquito más largo de 12 pulgadas, solo corte las letras con la Silohuette y las use como base para hacer el álbum. Lo demás lo corte a mano .... jajajaja .... (^_^;).
The name of his child was Yuga and I decided to do a word minialbum using his name, I found a tutorial to make words minialbums with the Silohuette in "Finding Time To Create", I follow the instructions for the word, but as I wanted an album that was a little bit longer than 12 inches, I just cut the letters with the Silohuette and used them as a base for the album. The rest I cuted it by hand ... lol .... (^_^;)

Para la carátula use el titulo los "niños y sus juguetes" y algunos motivos náuticos. Para cerrar todo el álbum use la zutter "bind it all".
For the cover I used the title "Boys and Their Toys" and some nautical theme. To close the entire album I used the Zutter "bind it all".


Para la parte de atrás de la letra "Y" use otros elementos náuticos.
To the back of the letter "Y" I used some other nautical elements.


Para la letra "U" use como motivos los aviones, corte un borde de avioncitos para poder colocar tags para más fotos y adorne la letra con más avioncitos.
For the letter "U" I used as motive planes, I cuted a border of airplanes to place tags for more photos and I decorated the letter with more airplanes.


Para la parte de atrás aproveche el motivo del papel y corte navecitas espaciales que me habían quedado del papel que use, para darle un poquito de dimensión.
For the back I take advantage of the paper motive and trimmed space ships from the rest of the paper to give a little dimension to the letter.


Para la letra "G" el motivo eran los helicópteros, y la idea fue la misma, un borde de helicóptero para las tags y adornos de helicópteros para la letra.
For the letter "G" the motive was helicopters, and the idea was the same, a border of helicopterfor tags and helicopters decorations for the letter.


Para la parte de atrás corte algunas figuritas de dinosaurio para ir con el motivo del papel y darle realce.
For the back I cuted some dinosaur figures to go with the theme of the paper and give some enhancement.


Ya para la ultima letra el motivo fueron los trenes y seguí la misma idea, un borde de trenes para colocar las tags y un trencito para adornar la pagina.
And for the last letter the motive was trains and I followed the same idea, a border of trains to place the tags and a big train to decorate the page.


Ya para la parte de atrás de la ultima pagina use varios elementos que me fueron quedando de las demás letras para darle un realce bonito y tuviera mas espacios para fotos.
And for the back of the last page I used several elements that were left from the other letters to give a nice embellishment and had more space for photos.


Espero les haya gustado este álbum si les quedo alguna duda de como hacerlo, me avisan a ver en que las puedo ayudar.
I hope you liked this album and if you have any doubt about how to do this album, let me know and I will see in which I can help.

Se ve tan lindo ...(^v^)
Is so cute ....  (^v^)

Nos vemos la próxima semana.
Cuidense... 
See you next week
Take care....

viernes, 2 de octubre de 2015

Recuerdos Baby Shower - Baby Shower gifs

Hola.

La semana pasada fue una locura con el viaje, trabajo trabajo trabajo, pero pude ver un poquito de las calles de Sao Paolo y casi morir de calor también jajaja .... 37 °C pueden creerlo... nunca había estado bajo ese sol ...( ̄□ ̄;)
Last week was crazy with the travel, work work work, but at least I could see a bit of the streets of Sao Paolo, but almost died from the heat lol .... 37 ° C can you believe it ... I had never been under so much heat ... ( ̄□ ̄;)

Bueno les cuento que por alguna razón del destino se me perdieron las fotos de mis proyectos del 2013 .... quiero llorar .·´¯`(>▂<)´¯`·. había hecho mini álbumes para mi abuela, algunas tarjetas de cumpleaños y file folders mini álbum para Navidad.... seguiré buscando tal vez estén en otro disco ..... mmmm
Well for some reason of fate I lost the pictures of my 2013 projects .... I wanna cry . ·'¯` (> ▂ <)'¯` ·. I had done mini albums for my grandmother, some birthday cards and file folders mini albums  for Christmas  .... I will keep looking maybe they are on another disk ..... hmm

Así que nos pasaremos de frente al 2014 yeah... a principios de ese año me regale la Silohuette Cameo, regalo de Navidad de mi para mi .... los mejores regalos por supuesto .... jejeje. Este es uno de los primeros proyectos que hice con la maquina son unos recuerditos de Baby Shower que hice para una amiga.
So we will pass right to 2014 yeah ... earlier that year I bought the Silhouette Cameo, It was a Christmas gift from me to me, these gifts are the best  .... lol. This is one of the first projects I did with the machine, some souvenirs for a friend Baby Shower.

Hice una cajita pirámide en cartulina celeste y unas etiquetas para colocar el nombre del bebe y la fecha.
I made a pyramid box in blue cardstock and a label to place the baby's name and date.


A dos de los lados le agregue cortes de bebés, como piecitos, sonajeros y baberitos.
At two sides of th box I added cuts of babies, as little feet, rattles and bibs.


Para darle un look diferente después de cortarlos los repuje en la Big Shot, y para que resaltaron un poquito más le puse en los relieves Perfect Pearls color plateado de Tim Holtz.
To give a different look, after cutting I ran the cardstock through the Big Shot, and to add more highlight I use in the embossing parts Silver Perfect Pearls of Tim Holtz.


Dentro de las cajitas coloque chocolatitos en celofán azul y cerre las cajitas con una cinta delgadita celeste. No fueron muchas cajitas porque era un grupo pequeño, pero fue un lindo detalle para todas las que fueron.
Inside the boxes I placed little chocolates in a blue cellophane and closed the boxes with a small blue ribbon. There weren't many boxes because it was a small group, but it was a nice touch for all who went.


Espero que les haya gustado.
I hope you liked it.


Abrazos, nos vemos la próxima semana.
Hugs, see you next week.