

Hola como han estado,
Como les había comentado la semana pasada, participe en un concurso de tarjetas que había realizado una de las tiendas de Scrapbook que se puede encontrar en mi país, la tienda se llama Lápiz de Papel, así la pueden encontrar en Facebook. Quede entre las 4 ganadoras con tres tarjetas en las que mezcle varias técnicas.
As I told you last week, I participate in a card contest made by ¨Lapiz de Papel" a scrapbook storen my country. I was one of the 4 winners with three cards that mix several techniques.
Les voy a ir mostrando poco a poco cada una de ellas, hoy les voy a mostrar la tarjeta cascada. No es una tarjeta muy complicada una vez que aprendes como hacerla y se puede usar para muchas ocasiones porque te da mucho espacio para adornarla como quieras.
I'm going to show you one by one the cards I made, today I'll show you the cascading card. It is not a very complicated card once you learn how to make it and you can used it for many occasions because it gives you plenty of room to decorate it as you like.
Voy a tratar de hacer la explicación lo más simple que puedo y para mayor referencia les voy a dejar un video al final. Este es el link de la pagina que use como referencia, tiene la explicación más sencilla.
I'll try to make the simplest explanation I can and for further reference I will leave a video at the end. This is the link of the page I used as a reference, is the simplest explanation I found.
Primero empezamos con una base de cartón, el color que quieran, de 12 pulgadas de largo y 8 pulgadas de ancho. Con la ayuda del Scoring Bord de Martha Steward u otra herramienta con la que cuenten, se tiene que marcar la base a las 2 pulgadas, 4 pulgadas, 8 pulgadas y 10 pulgadas. A las 6 pulgadas se hace una linea muy ligera solo como referencia porque no la vamos a necesitar para doblar la tarjeta.
First we start with a cardstock base, the color you want, 12 inches long and 8 inches wide. With the help of the Scoring Bord of Martha Steward or other tool you have, you mark the base at 2 inches, 4 inches, 8 inches and 10 inches. At 6 inches you mark a very light line, is only for reference, we are not going to used it to bend the card.

Con la cartulina marcada, en un lado de 8 pulgadas, se debe marcar con lápiz a las 5 1/2 pulgada, en el otro lado se debe marcar a las 2 1/2 pulgada de manera que al unir las líneas se formen dos piezas del mismo tamaño.
After mark the cardstock, on one side of 8 inches you should score it with pencil at 5 1/2 inch, on the other side you should score at 2 1/2 inch, so that by joining the two marks you can form two some pieces.

Después de eso pueden dibujar una línea y cortar con tijera los dos pedazos o si tienen una cuchilla la pueden utilizar para cortar más rapido. Al terminar de cortar deben tener dos pedazos iguales.
After that, you can draw a line and cut with scissors the two pieces or if you have a cutter you can be used it to cut faster. When you finish cutting you should have two equal pieces.


En cada pedazo, en la parte más larga, se debe marcar exactamente la mitad, 2 3/4 pulgadas, y en la parte más pequeña 1 1/4 pulgadas. Esas marcas se unen con una regla para usarla como referencia, se debe colocar una marca donde la regla cruza las marcas de 2 pulgadas, 6 pulgadas y 10 pulgadas.
In each piece, in the longest part, you should mark exactly the half, 2 3/4 inches, and in the smaller part 1 1/4 inches. You should join these marks with a ruler just be to use as a reference, you should put a mark where the rule crosses the marks of 2 inches, 6 inches and 10 inches.


En uno de los pedazos, siguiendo las marcas que hicimos anteriormente en el papel, se debe cortar desde la base hasta la marca de lápiz. En el otro pedazo siguiendo la marca, se debe cortar desde la diagonal hasta la marca.
With one of the pieces, following the impressions we made on the paper, you should cut from the base to the pencil mark. In the other piece following the impressions, you should cut from the diagonal to the pencil mark.

Luego solo queda juntar los dos pedazos, cada abertura de un pedazo con la abertura del otro pedazo, luego se doblan por las marcas que habiamos hecho anteriormente.
Then you have to join the two pieces, each opening of one piece with the opening of the another piece, then fold them by the impressions we had done previously.

Luego de eso solo queda adornarlo como quieren, pueden usarla para diferentes ocasiones, quedan muy bonitas e interesantes (^o^) .
After that there is only matter of decorate it the way you wish, you can use it for different occasions, they gave a very beautiful and interesting twist (^o^).
Espero que hayan podido entender la explicación, si les parecio muy complicada aqui les estoy dejando un video explicando todo paso por paso (^_-).
I hope you have understood the explanation, if they seemed very complicated here'm leaving you a video explaining everything step by step (^ _-). Sorry again is only in spanish, but I can translate if you want, let me know.
Espero que les haya gustado y si tienen alguna duda o necesitan ayuda con las dimensiones me pueden escribir y tratare de responder lo más pronto posible.
I hope you liked it and if you have any questions or need help with the dimensions, you can write me and I'll try to answer as soon as possible.
Muchas gracias por darse un paseito por aqui,
nos vemos en el siguiente post.
Cuidense.
Thank you very much for giving stopping by,
see you in the next post.
Take care.

Después de eso pueden dibujar una línea y cortar con tijera los dos pedazos o si tienen una cuchilla la pueden utilizar para cortar más rapido. Al terminar de cortar deben tener dos pedazos iguales.
After that, you can draw a line and cut with scissors the two pieces or if you have a cutter you can be used it to cut faster. When you finish cutting you should have two equal pieces.


En cada pedazo, en la parte más larga, se debe marcar exactamente la mitad, 2 3/4 pulgadas, y en la parte más pequeña 1 1/4 pulgadas. Esas marcas se unen con una regla para usarla como referencia, se debe colocar una marca donde la regla cruza las marcas de 2 pulgadas, 6 pulgadas y 10 pulgadas.
In each piece, in the longest part, you should mark exactly the half, 2 3/4 inches, and in the smaller part 1 1/4 inches. You should join these marks with a ruler just be to use as a reference, you should put a mark where the rule crosses the marks of 2 inches, 6 inches and 10 inches.

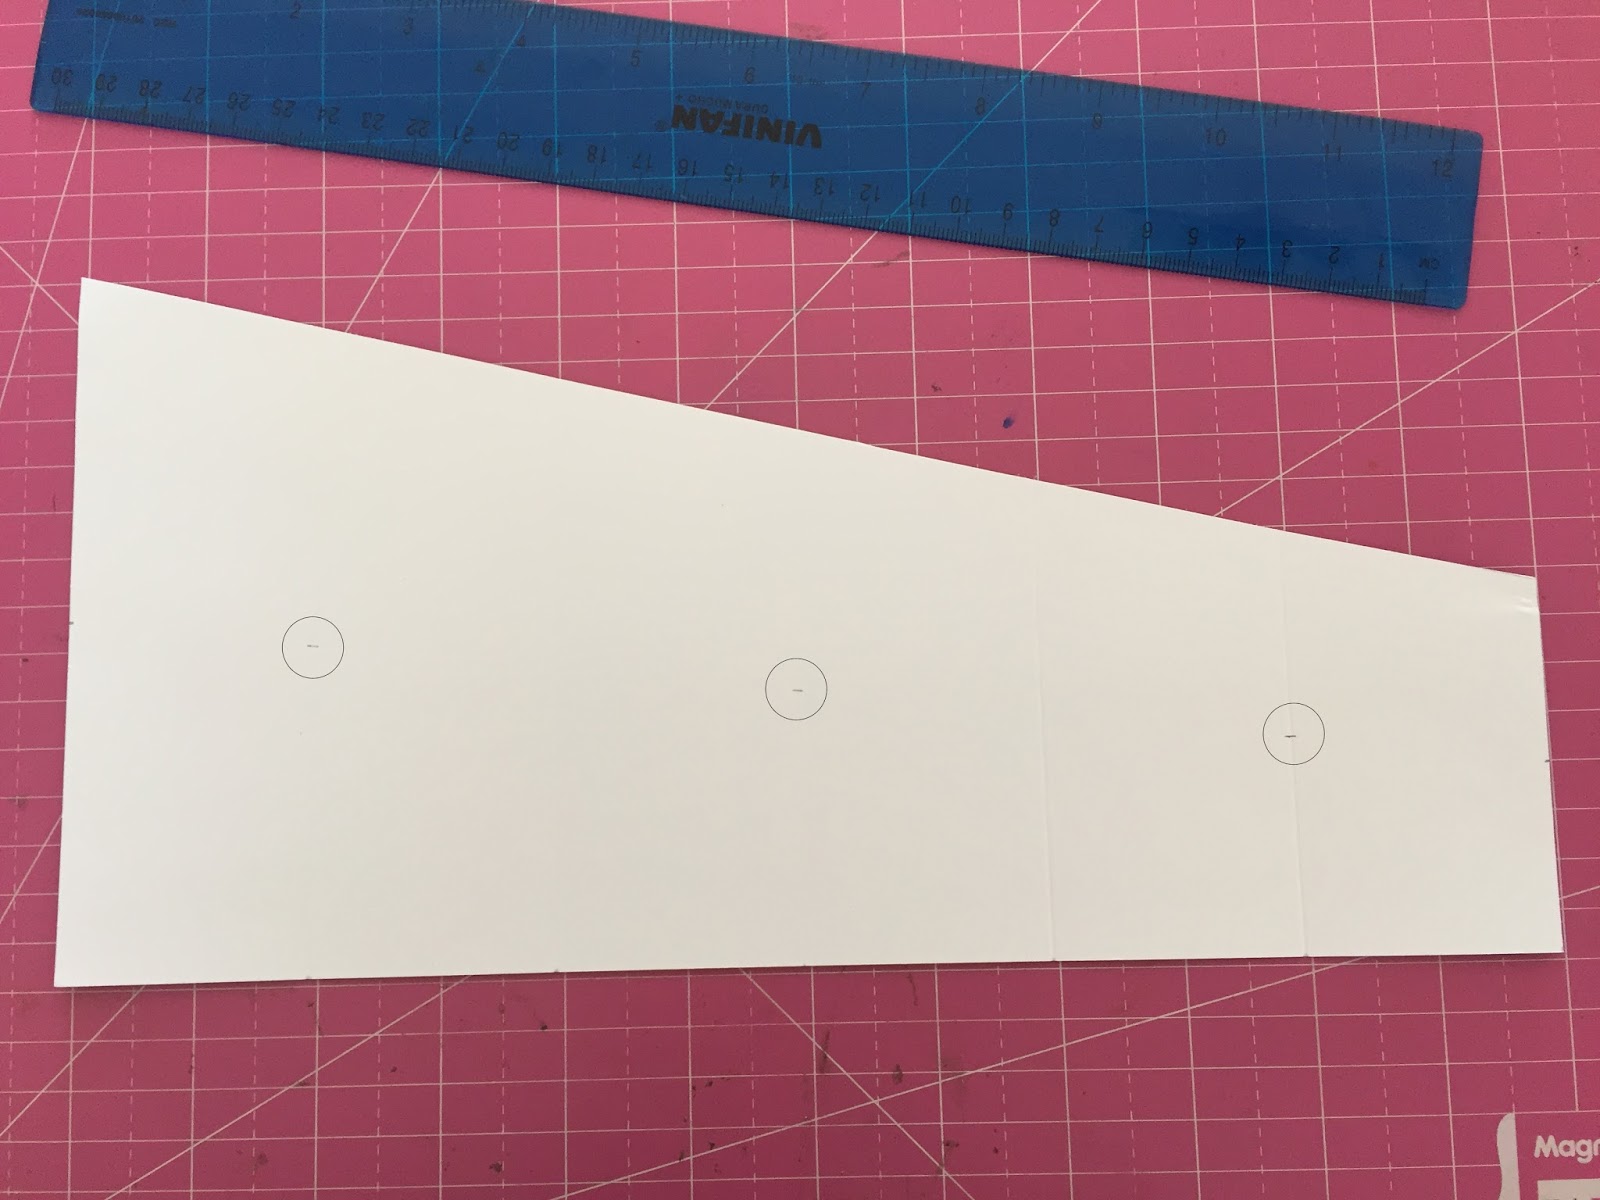
En uno de los pedazos, siguiendo las marcas que hicimos anteriormente en el papel, se debe cortar desde la base hasta la marca de lápiz. En el otro pedazo siguiendo la marca, se debe cortar desde la diagonal hasta la marca.
With one of the pieces, following the impressions we made on the paper, you should cut from the base to the pencil mark. In the other piece following the impressions, you should cut from the diagonal to the pencil mark.

Luego solo queda juntar los dos pedazos, cada abertura de un pedazo con la abertura del otro pedazo, luego se doblan por las marcas que habiamos hecho anteriormente.
Then you have to join the two pieces, each opening of one piece with the opening of the another piece, then fold them by the impressions we had done previously.

Luego de eso solo queda adornarlo como quieren, pueden usarla para diferentes ocasiones, quedan muy bonitas e interesantes (^o^) .
After that there is only matter of decorate it the way you wish, you can use it for different occasions, they gave a very beautiful and interesting twist (^o^).
Espero que hayan podido entender la explicación, si les parecio muy complicada aqui les estoy dejando un video explicando todo paso por paso (^_-).
I hope you have understood the explanation, if they seemed very complicated here'm leaving you a video explaining everything step by step (^ _-). Sorry again is only in spanish, but I can translate if you want, let me know.
Espero que les haya gustado y si tienen alguna duda o necesitan ayuda con las dimensiones me pueden escribir y tratare de responder lo más pronto posible.
I hope you liked it and if you have any questions or need help with the dimensions, you can write me and I'll try to answer as soon as possible.
Muchas gracias por darse un paseito por aqui,
nos vemos en el siguiente post.
Cuidense.
Thank you very much for giving stopping by,
see you in the next post.
Take care.


