
Buenas noches a todos.
Good evening everyone .
Hoy les quiero mostrar un álbum que hice para el hijo de uno de mis ex-jefes, el es Japones y el año pasado tuve la oportunidad de ir para allá y quise llevarle un regalo especial y que mejor que un regalo hecho por uno mismo verdad ... (^o^)
Today I want to show you an album I did for the son of one of my former bosses, he is Japanese and last year I had the opportunity to go there and I wanted to give him a special gift and what better than a gift made by oneself indeed ...(^o^)
El nombre de su hijo es Yuga y me decidí por hacerle un Miniálbum palabra usando su nombre, encontré un tutorial para hacer albumes de palabras con la Silohuette en "Finding Time To Create", seguí las instrucciones para hacer la palabra, pero como queria un albúm que fuera un poquito más largo de 12 pulgadas, solo corte las letras con la Silohuette y las use como base para hacer el álbum. Lo demás lo corte a mano .... jajajaja .... (^_^;).
The name of his child was Yuga and I decided to do a word minialbum using his name, I found a tutorial to make words minialbums with the Silohuette in "Finding Time To Create", I follow the instructions for the word, but as I wanted an album that was a little bit longer than 12 inches, I just cut the letters with the Silohuette and used them as a base for the album. The rest I cuted it by hand ... lol .... (^_^;)
Para la carátula use el titulo los "niños y sus juguetes" y algunos motivos náuticos. Para cerrar todo el álbum use la zutter "bind it all".
For the cover I used the title "Boys and Their Toys" and some nautical theme. To close the entire album I used the Zutter "bind it all".

Para la parte de atrás de la letra "Y" use otros elementos náuticos.
To the back of the letter "Y" I used some other nautical elements.

Para la letra "U" use como motivos los aviones, corte un borde de avioncitos para poder colocar tags para más fotos y adorne la letra con más avioncitos.
For the letter "U" I used as motive planes, I cuted a border of airplanes to place tags for more photos and I decorated the letter with more airplanes.


Para la parte de atrás aproveche el motivo del papel y corte navecitas espaciales que me habían quedado del papel que use, para darle un poquito de dimensión.
For the back I take advantage of the paper motive and trimmed space ships from the rest of the paper to give a little dimension to the letter.

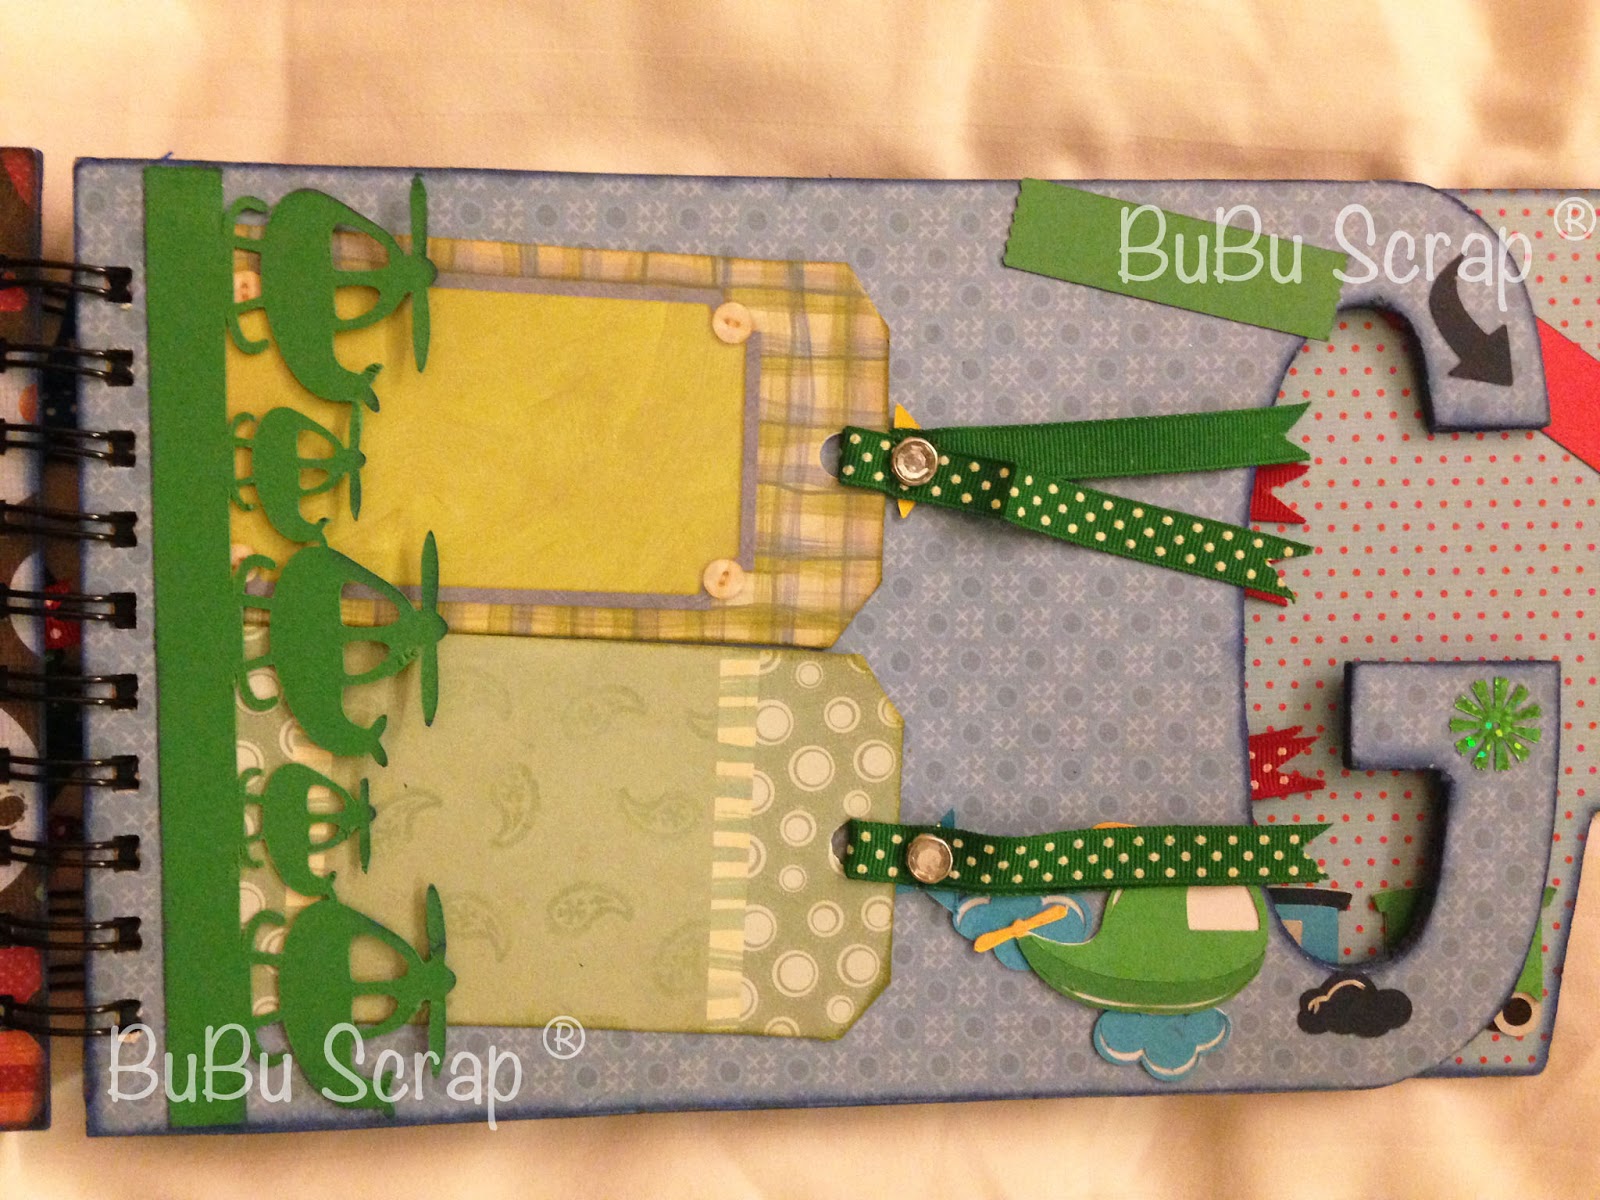
Para la letra "G" el motivo eran los helicópteros, y la idea fue la misma, un borde de helicóptero para las tags y adornos de helicópteros para la letra.
For the letter "G" the motive was helicopters, and the idea was the same, a border of helicopters for tags and helicopters decorations for the letter.

Para la parte de atrás corte algunas figuritas de dinosaurio para ir con el motivo del papel y darle realce.
For the back I cuted some dinosaur figures to go with the theme of the paper and give some enhancement.

Ya para la ultima letra el motivo fueron los trenes y seguí la misma idea, un borde de trenes para colocar las tags y un trencito para adornar la pagina.
And for the last letter the motive was trains and I followed the same idea, a border of trains to place the tags and a big train to decorate the page.


Ya para la parte de atrás de la ultima pagina use varios elementos que me fueron quedando de las demás letras para darle un realce bonito y tuviera mas espacios para fotos.
And for the back of the last page I used several elements that were left from the other letters to give a nice embellishment and had more space for photos.

Espero les haya gustado este álbum si les quedo alguna duda de como hacerlo, me avisan a ver en que las puedo ayudar.
I hope you liked this album and if you have any doubt about how to do this album, let me know and I will see in which I can help.
Se ve tan lindo ...(^v^)
Is so cute .... (^v^)
Nos vemos la próxima semana.
Cuidense...
See you next week
Take care....
No hay comentarios:
Publicar un comentario